
Let’s get this party started!
A few weeks ago, I shared our plans for the raised garden beds. I also shared how I calendared out what had to happen when for all hundred+ varieties of plant we planned.
Well, the first date arrived, and it was recently time to start a round of seeds indoors. We’re giving the longest head start to our nightshades - tomatoes, peppers, and eggplants - which will be started in the first round and set in the garden fairly late in the season (last week of April). This will give them plenty of time - nearly three months - to grow indoors. The leeks and celeries are also up for an early indoors start; but they’ll be set in the garden fairly early, too.
First things first, I needed to clear an area that was suited to starting seeds. It needed to be big enough for all of my seedlings to sit for even up to a few months. It needed to be a place where the seedlings could be provided with all the things they need, as well. I cleared a large-ish table in our basement and made sure I had all the supplies on hand well in advance of the first date I’d need to start seeds.
First, the seedlings need a place that is safe and out of the way. In particular, they needed to be in a place where the dogs would not be able to chomp them, dig in them, or walk through them. A really good way to lose your seedlings is to have them sitting on the floor with a puppy running around. Ask Emmett how I know that.
Second, seedlings need the right temperature range. Our basement is not super cold, but it is definitely chilly, probably about 55 to 60 degrees in these cold winter temperatures outside. This is not quite warm enough for the seedlings we want to grow, especially for the nightshades, which are warm-weather plants that like lots of sunshine.
For this reason, we really needed to get some seed mats to help keep the seedlings cozy. For those that haven’t seen them, seed mats are basically just hot pads; the main differences are that they don’t have temperature controls and they are covered in a thick waterproof plastic to keep any of the moisture from escaping the seed planters and getting into the electrical components. I would not recommend using regular heating pads for this purpose, because of the water issue. Remember what Louis the lightning bug said?

You’ve got to play it safe around electricity!
The second element that I needed was to have places to actually plant the seedlings to germinate and grow. In the past I've often just done this in repurposed plastic seedling cups. I just saved the ones that came with whatever pre-grown seedlings I had gotten from Lowe's the prior year, and they would sit in the shed and maybe be remembered when I needed them again. This has the advantage of reusing some plastic that wouldn't otherwise be easily reused. One of the challenges with them, however, is that they can carry diseases or even insect eggs from whatever nursery they came from, so there is a risk involved if you haven’t gone through some extra steps to sterilize them.
We actually do have a large number of those from last year, when we rushed to get seedlings into the ground right after moving in in July. However, the disease concern is real, plus we don’t need containers that large as yet. We may use them if we want to give some of the seedlings more space in a little bit.
I’ve also used the green plastic ones you can buy with seed starting kits. These are easy to use, but the plastic is very friable - it breaks apart very easily, which makes them very hard to reuse. You almost have to break the plastic in order to get the seedlings out. I also found that in some cases, because the plants have been in there for a little while longer than maybe they should have, the roots grow through the drainage hole and it can do some damage to the fragile little root systems just in trying to get them out of their containers.
[same, seedlings, same]
When researching what to buy online, I really wanted a more sustainable / reusable option. When I saw these, I immediately thought they would likely be the best option out there. These cute little seedling trays are from Burpee's. They have this little slotted silicone bottom, which allows you to just push the little babies out of each of their individual sections. You don’t have to fight with the plastic, and you can remove each seedling one at a time. They are sturdy enough to wash and reuse indefinitely.

Pop!
I want to note that these were back-ordered by a few weeks each time I tried to buy them; so I don't know if it's just that a lot of people are getting into gardening this year, or they weren’t able to make enough, or what it is - but they were definitely back-ordered. I was very lucky that I had started ordering all of my materials pretty much right after the first of the year, as soon as I'd gotten my plan together. If I had been any later in getting my plan together and trying to get these things ordered, I don't think that I would've gotten them in time. So if you want to try them, you may want to start planning now, or else just plan on getting these for next year
In addition, you need to have a planting medium. In the past, I have used these little coconut coir pucks. They are wrapped in a filter paper, and you soak them in water and they grow and become a nice medium that you can plant in, but I had a few challenges with those as well. First, the paper didn't disintegrate quite as fast as would be ideal, so when it came time to transplant them, I had to tear the paper off. But in most cases, the roots had grown into the paper, so tearing the paper off wound up damaging a lot of the roots that had already developed. It was clear that this set the plants behind a little bit. So I don't think that the pucks with the paper on the outside are ideal. I’m still going to use the ones I have left, but one thing that I do know going forward is that before the root system gets too large, you should remove the paper which will allow you to transplant without having to tear roots off and the paper won't be an obstacle to the roots growing into the soil around what you plant. The trade-off is that they'll be messier and more difficult to get out of the container in one piece.
Pucks.
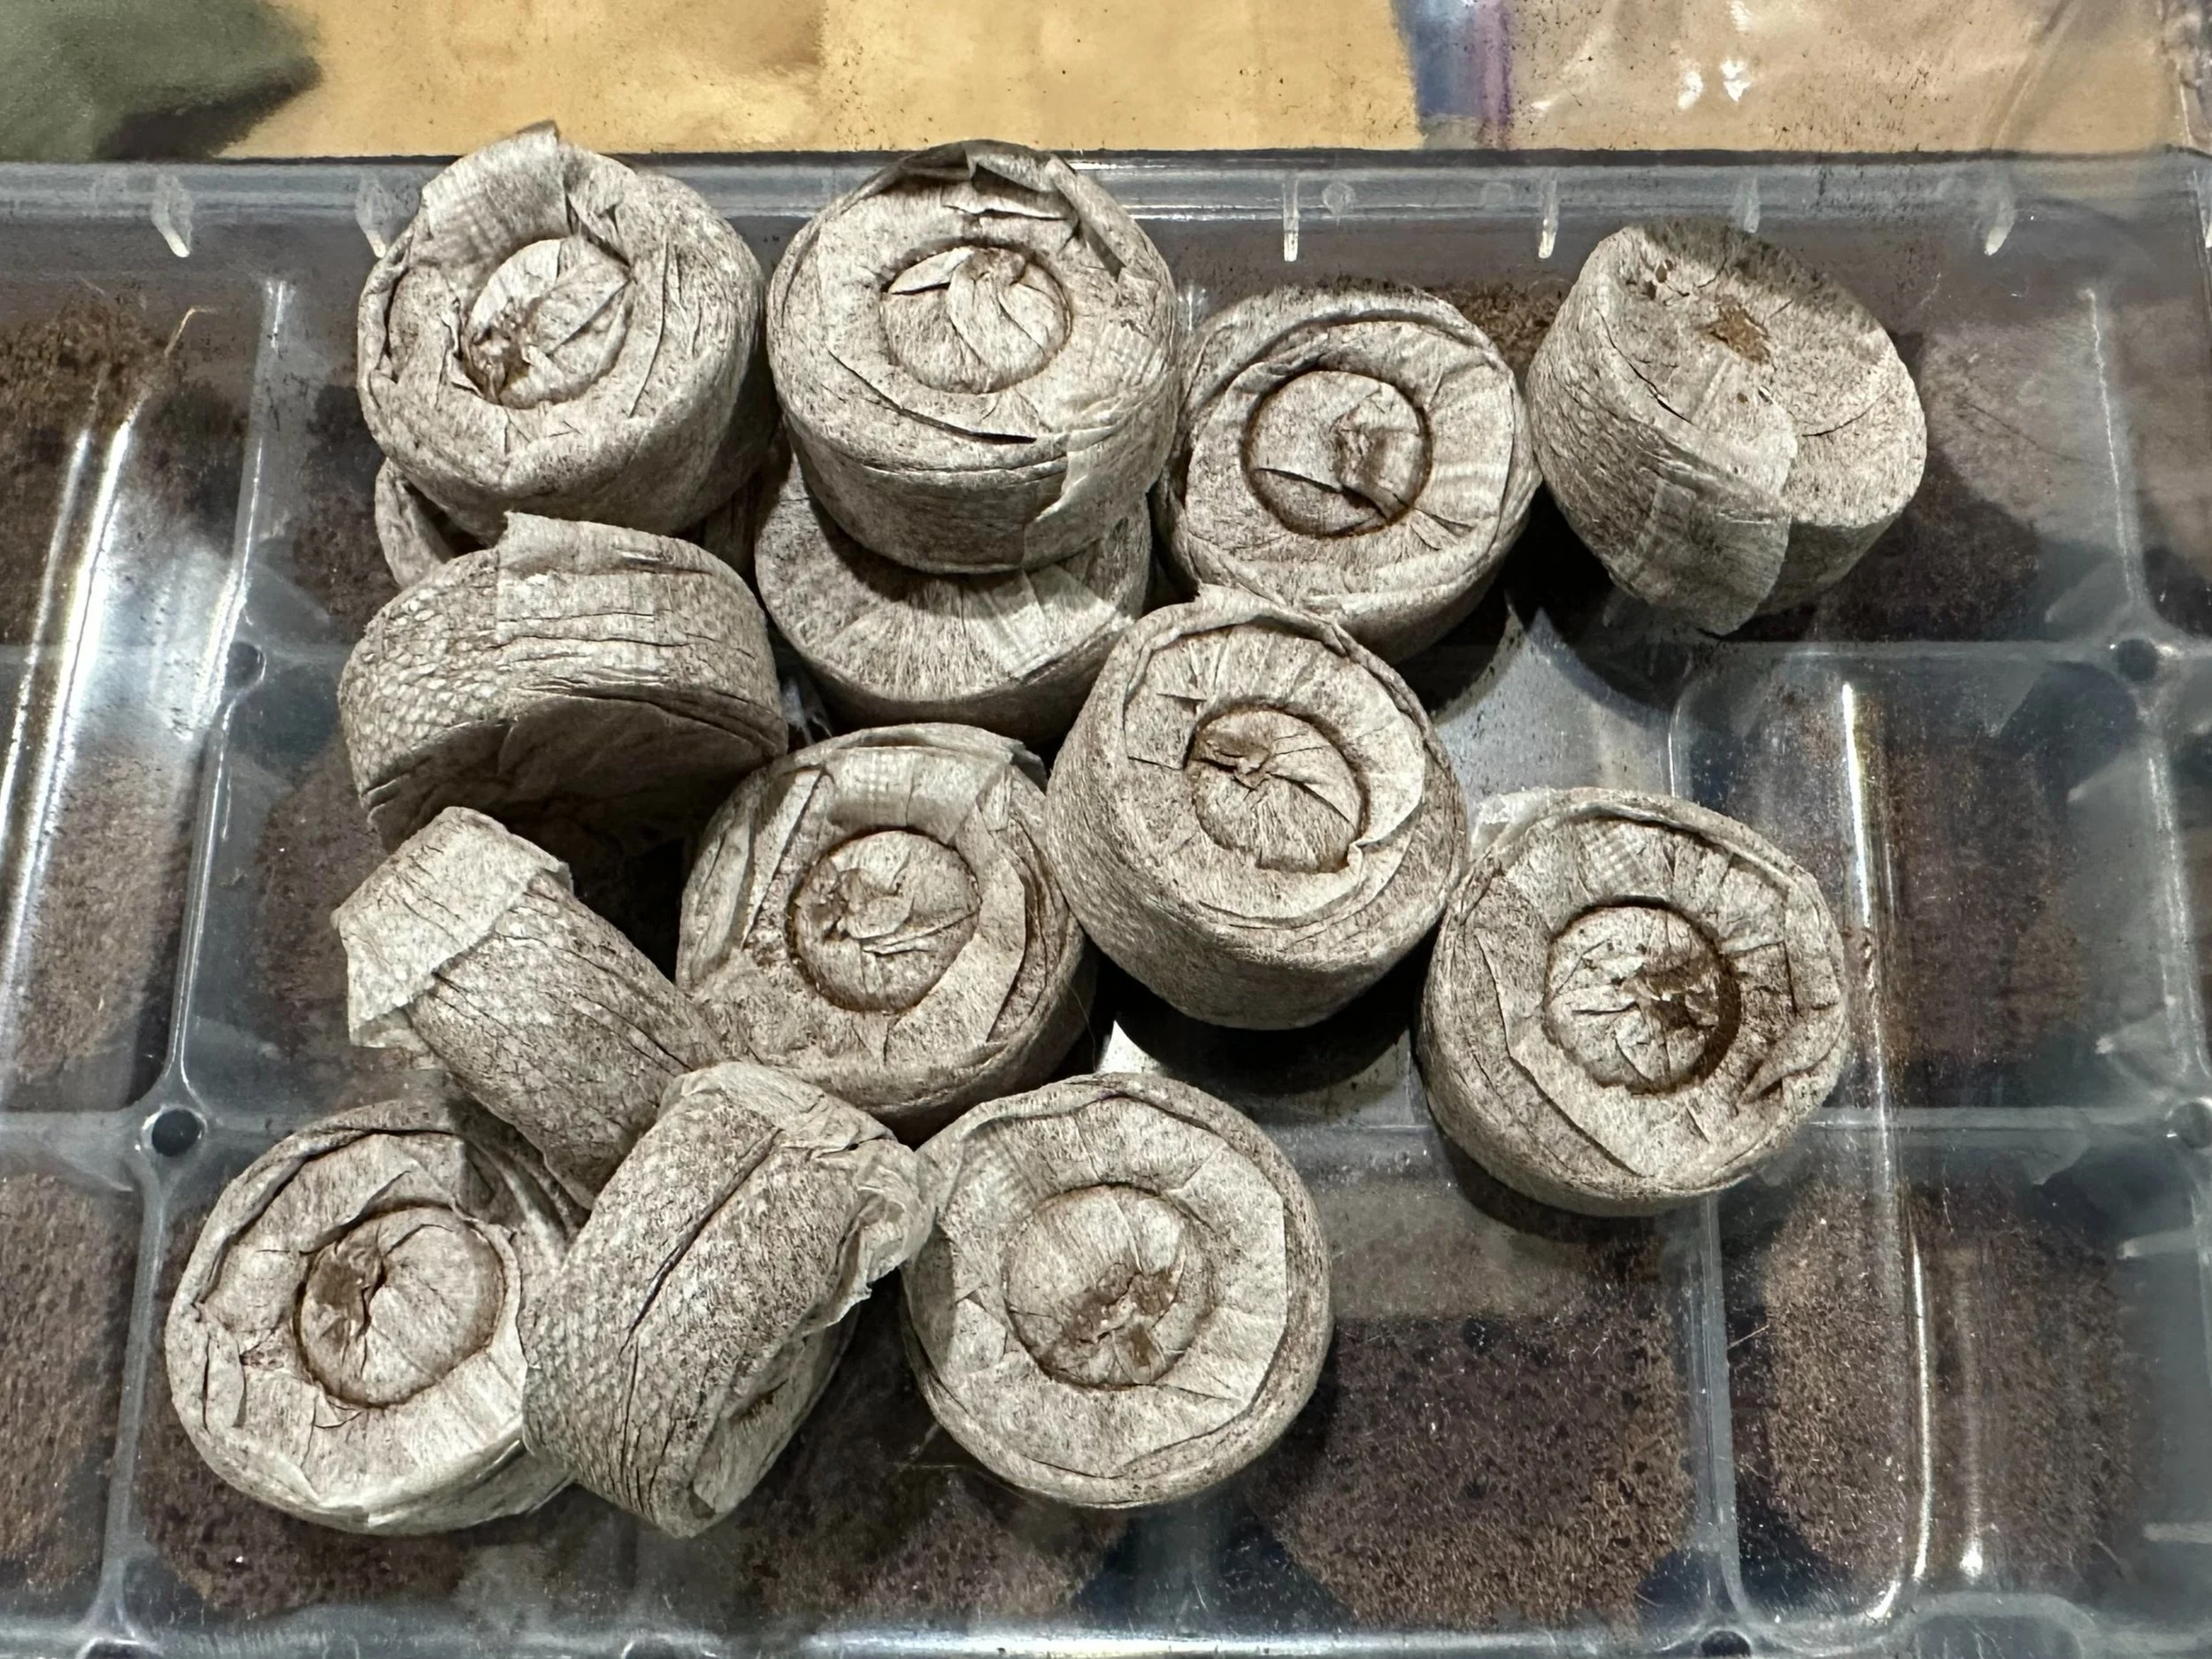
So the other thing I found are these nutritive seedling starters that are also made of a spongy type of material; they're pre-formed into exactly the right shape for these containers and they are impregnated with a mixture that has the right nutrients for seed-starting. They have a little divot drilled into the middle, which allows you to just drop a seed right in. This is the first year I've tried them; I’m not a shill for these guys. They have no idea who I am. I have like seven followers (and I love you all). They're pretty cool so far, and they seem easier to work with than the little pucks, so I have high hopes. Later in the season I’ll be able to give them a proper review.
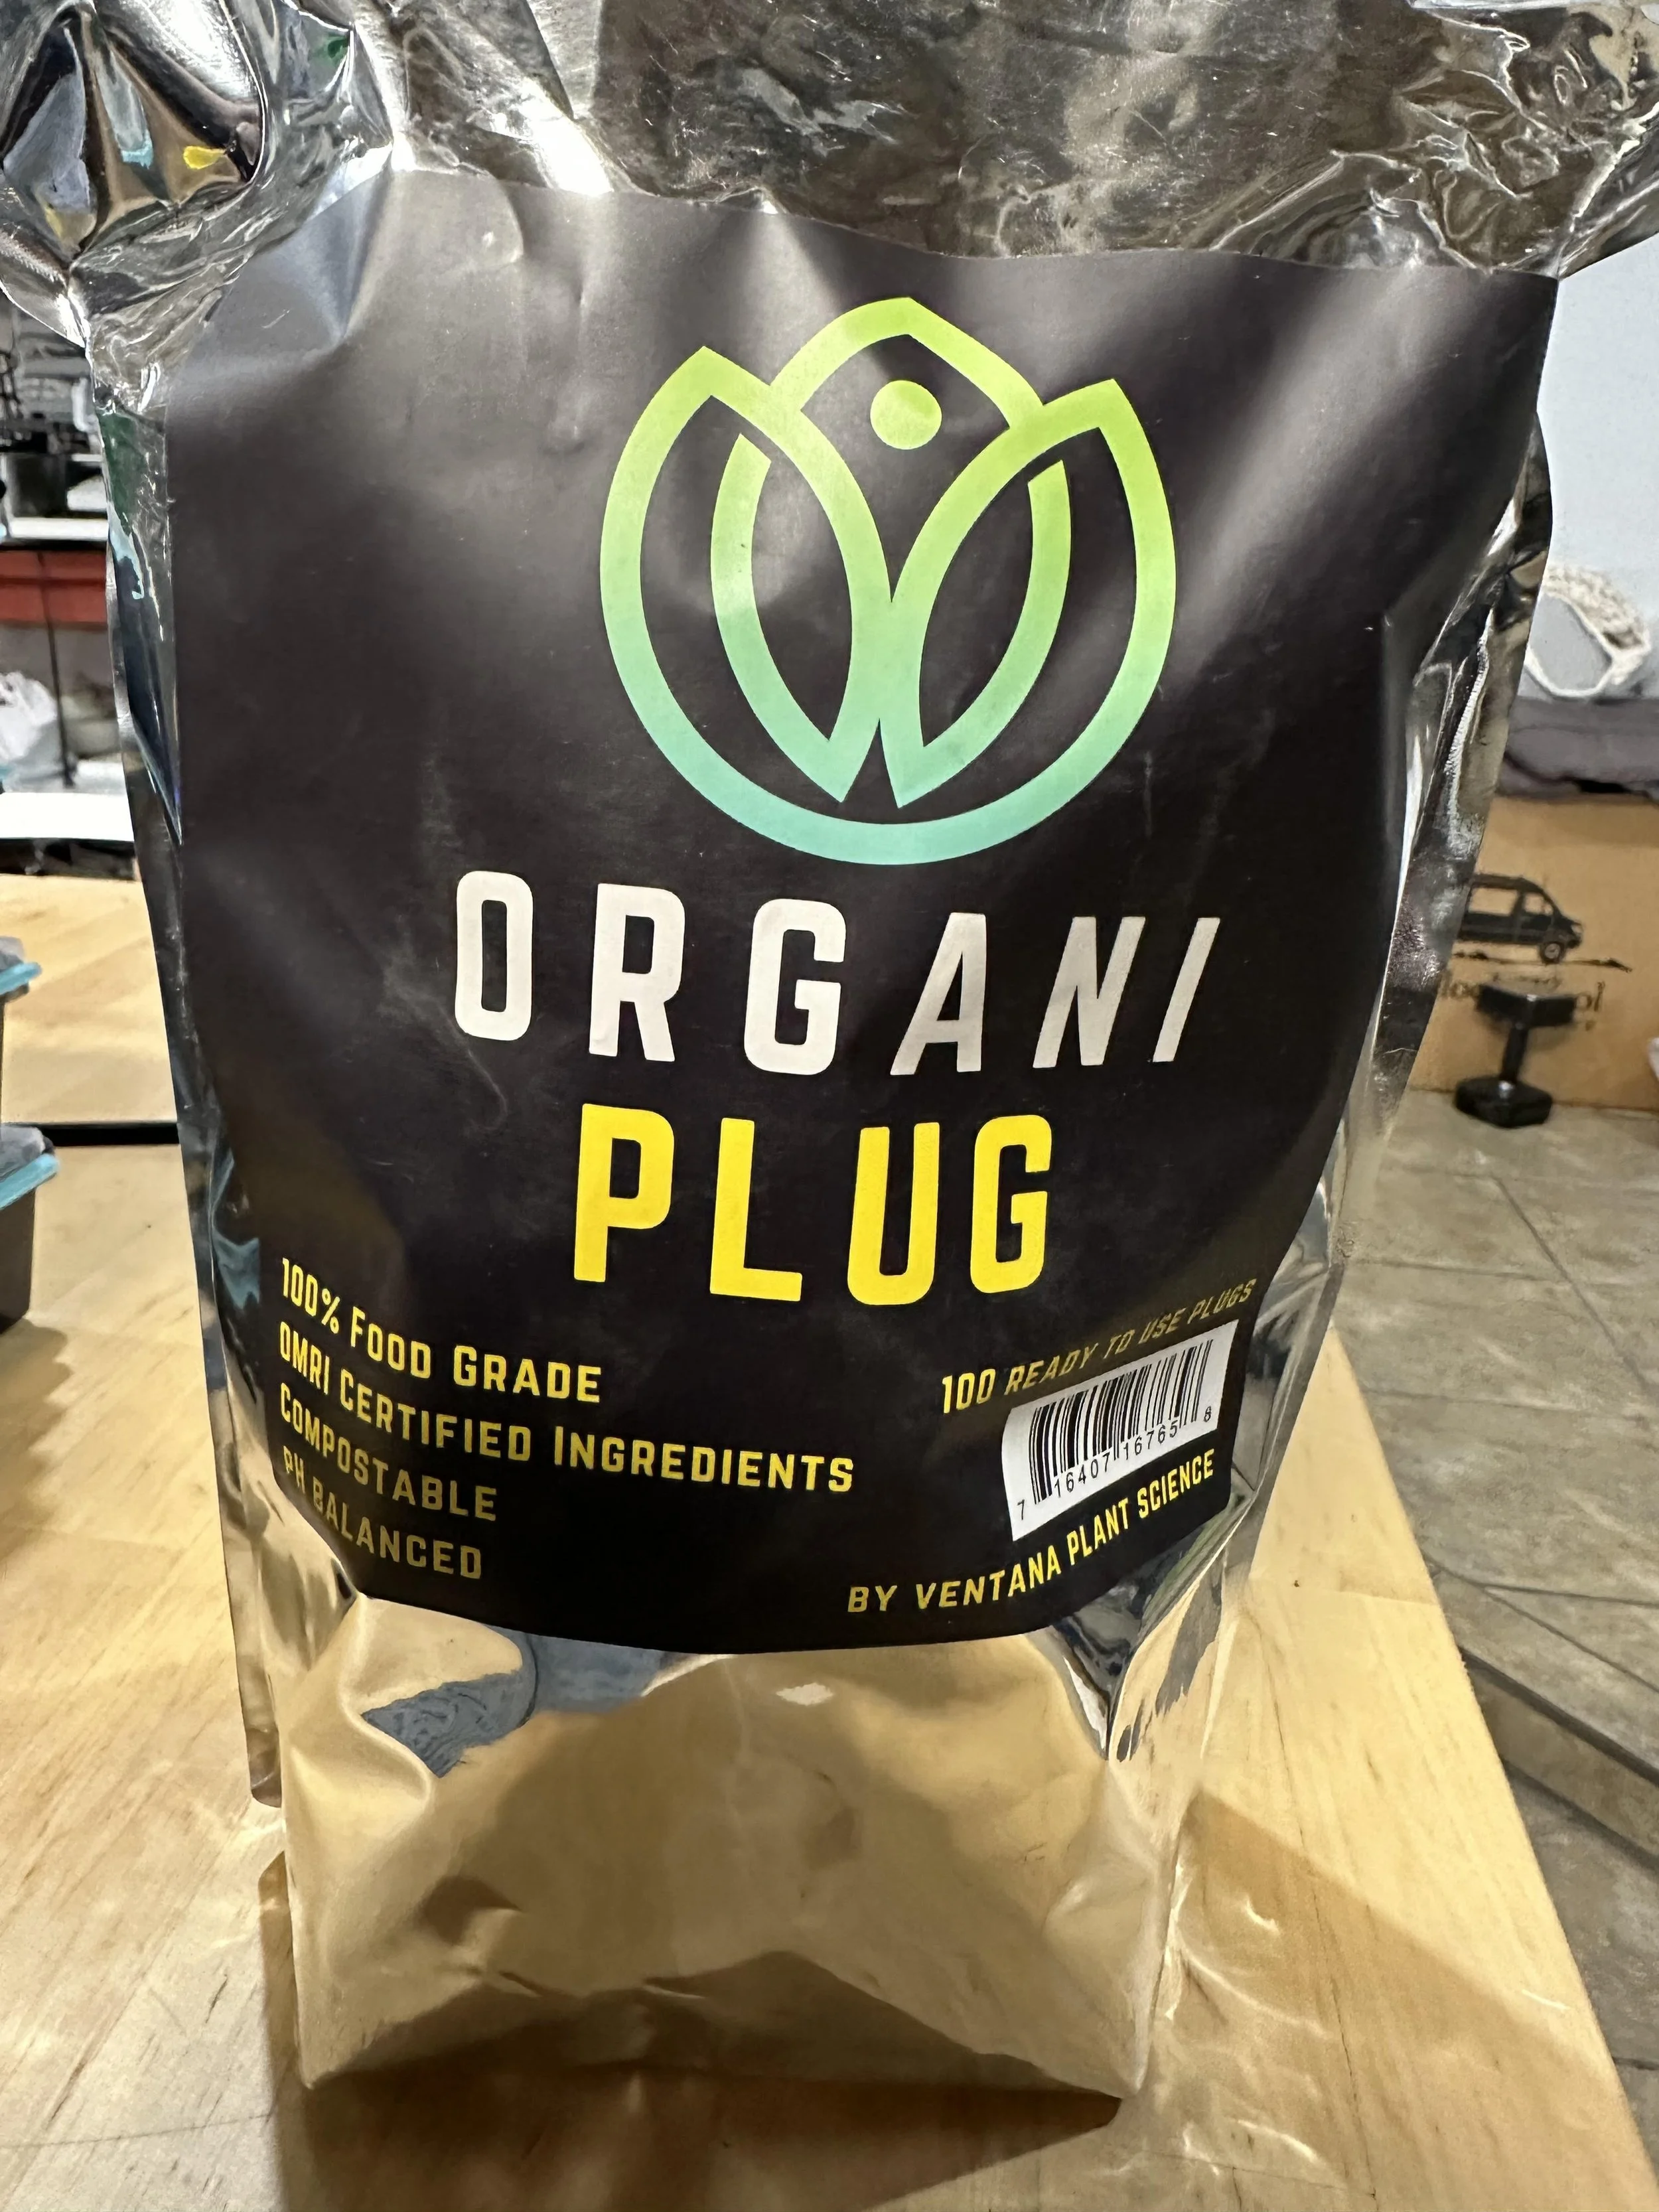
Plugs.
The one thing I’ve noticed with these little sponges is that they do evaporate water pretty quickly. You want to make sure that that top area is kept moist enough for the seed to properly germinate but not so moist that it's going to promote mold growth or rotting. I’m sure I’ve just lost a few readers by using the word moist two three times in one paragraph.
For me, even with the cool conditions in the basement, I’ve watered at least once a day and on a couple of days I've done a few drops in the top a second time. It's better to water more frequently and in smaller amounts to make sure that the seedlings are always kept moist.

In any case, they require checking in on.
Just a reminder, that you you need to have seed trays that drain, but they also need to be sitting in something to catch the water, especially if you’re using warming mats. Don’t make me bring out Louie again. I think he has mob connections.
See nothing, say nothing
Plants also need a bit of light to grow. After a certain age and size, direct sunshine is best, especially for these nightshades. They're going to really want a large amount of direct sunshine for a significant part of the day. But for the little babies as they're getting germinated and starting to grow, you don't need actual sunshine, you just need to have a source of light and they need to have it for a certain period of time each day. I got these LED lights that are on a timer switch. They're made specifically for plants. At some point before these babies are ready to go outside, they’ll want to get some of that sunshine and also get used to the outdoors, so we’ll be doing a few field trips to the outdoors but sleeping inside in their beds. But that’s a ways down the road still.
So this is my overall set-up, with the mats, trays, lights, and plugs all put together and ready to go. I also have a label sheet that shows what varieties I planted in each container so I know where to put each seedling in the garden.

Grow my little babies!
It's now February 7, so its six days after I first started the seeds, and you can see that some of them are starting to germinate. We got a few little early risers here; it's mostly the eggplants that have come up. I find that to be common in comparison with the other nightshade plants; it’s the eggplants that come up first, followed by tomatoes, and the peppers can lag a little bit behind. It’s not necessarily something to panic about if they don't come up quite as early as the other nightshades. For celery and leeks, I honestly have no idea because I have never grown either of those types of plants.

Babies!!!
One of my plans for this stage of things is to track some data about the different varieties. The seed packets sometimes have germination timing on them, though it depends on conditions. I really want to track the germination rates. It will always happen that at least some of your seeds won’t germinate properly. I want to be able to track the percentages that don’t germinate for the varieties that we have. It'll take a few more weeks, I would say, maybe another week and a half before we know for sure what our germination rate has been for these varieties, so I'll check back in with some updates. We're starting really at the earliest point that is feasible within our timelines, so if I need to start over on any of these that haven't germinated, it's not gonna be too much of a disaster. We’ll have some plants that are a week or two behind the others, but it won't be so bad. So any that haven't germinated we’ll just try again.
Of course, another option would be to start more seeds than we need. But I’ve decided to try to grow the right number of seedlings this time around. First, the heirlooms that I got are not cheap. I mean, they aren’t super expensive on a per-seed basis, but I want to be as conservative with them as possible. Often in the past when I have gotten packets of Burpee seeds or whatever from the store, I'd just use the whole packet in the season. It didn’t matter much, because they were cheap, and I never knew what I might be able to plan the next year, so saving things wouldn’t have made much difference. So in the past I didn't really bother too much about being conservative with my seed use or trying to save them. But, you know, when you lay out a few hundred dollars to get hundreds of varieties of heirloom seeds, then it can inspire you to take a little more care. At least I feel as though it behooves me, myself, and I to take a little more care with the seeds that I'm using. For all those reasons, I'm only trying to germinate and grow the exact amount that I want to have.
The rest of my seeds are all going to be kept in the freezer for next year. They'll stay good for a long time in the freezer - they may lose some germination over time, but not in huge measures. So you don't necessarily want to plan on keeping seeds for years and years; I’ll leave that to the seed banks, they have better storage than I do. But for my purposes, I’ll keep them for a few seasons and only use what I need for each season.
You can bet that as I do, I'll be taking notes on the germination rates and holding onto those for next year and in subsequent years I'll be able to actually test how much germination has been lost through the years of storage. So all of you who are just here for the plant data, stay tuned for [checks watch] the next several years to learn more.